Showing posts with label Hiking. Show all posts

Sunday, December 28, 2014

The Fortress - Sept 15 2013

The Fortress
Trip Date: September 15, 2013
Classification: Scramble
Difficulty Level: Easy
Elevation Gain/Summit Elevation: 1100m (3,608ft)/3000m (9,843 ft)
Distance: 17.2km round trip
Location: 50.82°N, 115.23°W


The Fortress is a mountain located in the central Kananaskis Range in Kananaskis Country.  It is one of three mountains that can be accessed and summited via Chester Lakes Trail, the other two mountains being Gusty Peak and Chester Peak, which is the most popular scramble in the area.  The Fortress can be approached from either Headwall Lakes or Chester Lakes and can combine the two into a loop.  This trail report describes the route from the Chester Lakes trailhead which is the most popular.  The Chester Lakes trail can be extremely busy especially during larch season.  It is also prudent to be aware of bears as this area is frequented in the late summer by a resident female grizzly.  Keep track of trail conditions and group size minimums.


The trail to the Fortress-Chester Col is fairly straight forward with little if anything in the way of difficulties.  The trail starts at the Chester Lake parking lot located about 40km down the Smith Dorrian/Spray Lakes road from the Canmore Nordic Centre.

Since the June 2013 flood, the first couple of hundreds of metres of the trails has been washed out.  The new trail is flagged and now meanders through the trees alongside the washout.  Once past the first few hundred metres, the new trail meets back up with the old logging road and the trail becomes free of debris and gullys.  At the 2km mark there are bike racks where you could bike to if you want, though with the washout, it may be very difficult now. 

The day we chose to go was warm and sunny with barely a cloud in the sky.  The temperature peaked in the high 20s, even though it started in the low single digits. After the group hiked to Chester Lake, we passed around the lake one the left side, sticking to the shoreline.  Ensure you do not take any trails that veer to the left, they go elsewhere.  At the far side of the lake, we worked our way up a small trail leading above the lake and through a small thicket of trees.  You may feel you are off trail however you are likely where you need you be and route finding is easy, and The Fortress stands like a sentinel at the back of the valley, all we had to do was work our way through the trees toward the mountain across the undulating terrain towards the col.

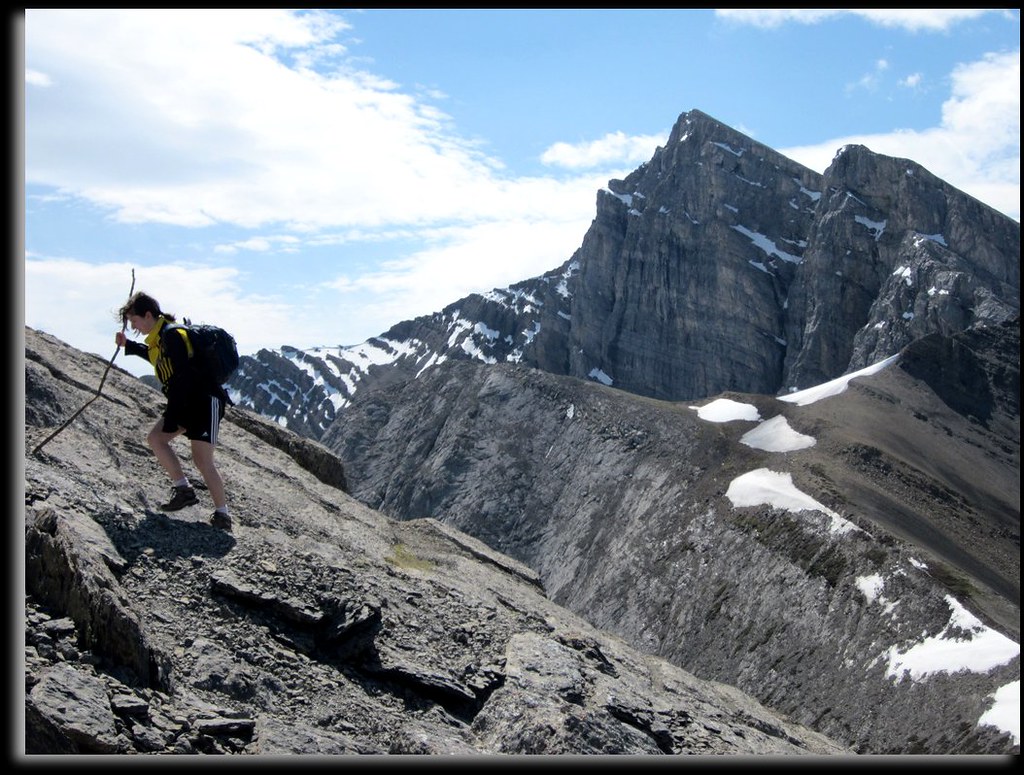
As you walk down the valley, the towering cliffs of Mt. Chester will dominate the right hand side of the valley.  This will block the afternoon sun on return.  As you continue hiking to the Fortress you will quickly leave the trees behind and the landscape becomes a grass/shrub dominated land.  The Fortress-Chester Col will be on your right as you reach the base of Fortress Mountain and a small alpine like.  Hike up this col, it is recommended that you keep to the left of rock spine unless you want to add some extra down scrambling on a rock face with moderate exposure (see image to left).  Watch for rockfall in this area if you go to the right. Staying left of the rock spine will prove eventless and straight forward.
After ascending the col, the path to the summit block is apparent.  Traverse the scree and follow the trail up towards to the summit block.  The trail will wrap around to the left of the summit block and a short, safe and easy scramble will allow you to ascend to the summit plateau.

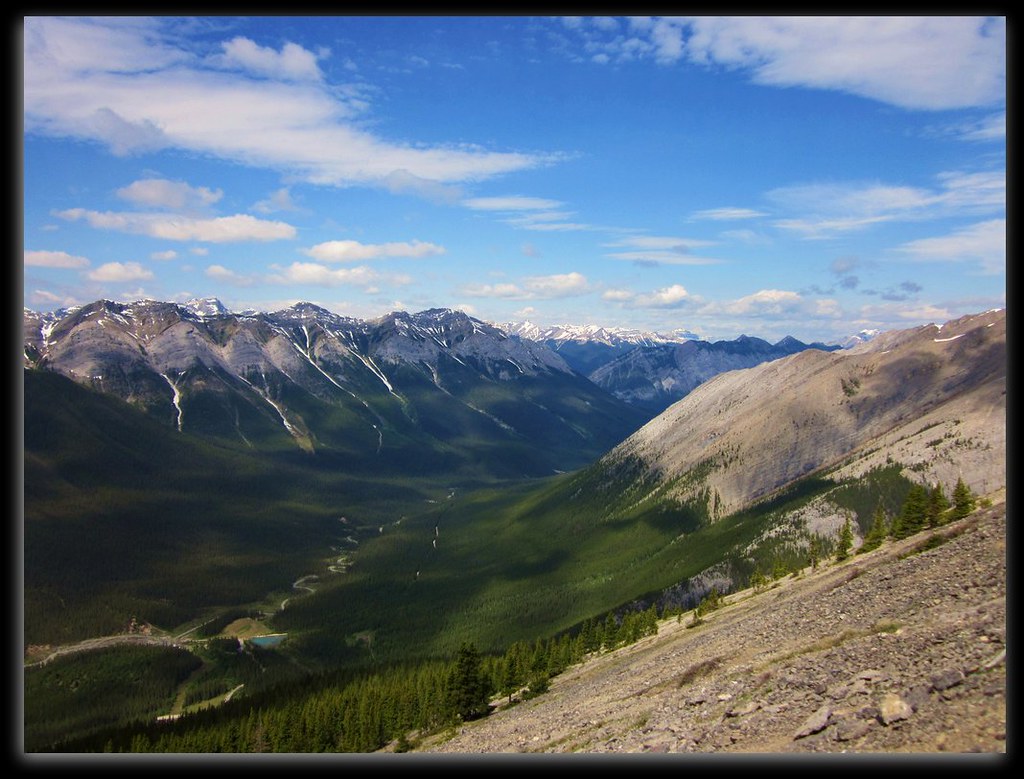
The summit provides great views of the three jewels of Kananaskis: Mt. Joffre, Mt. Sir Douglas and Mt. Assiniboine as well as a great panorama of literally hundreds of other mountains.


Mt. Chester from the Col
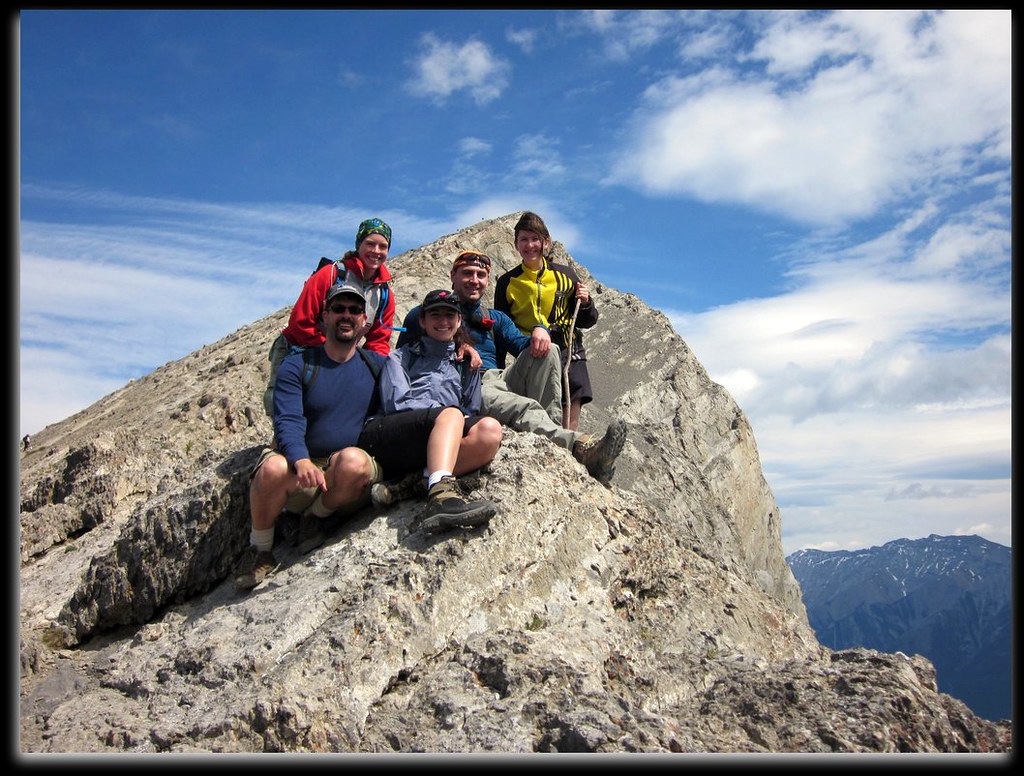
Summit Shot


Gusty Peak, Mt. Galatea and The Tower

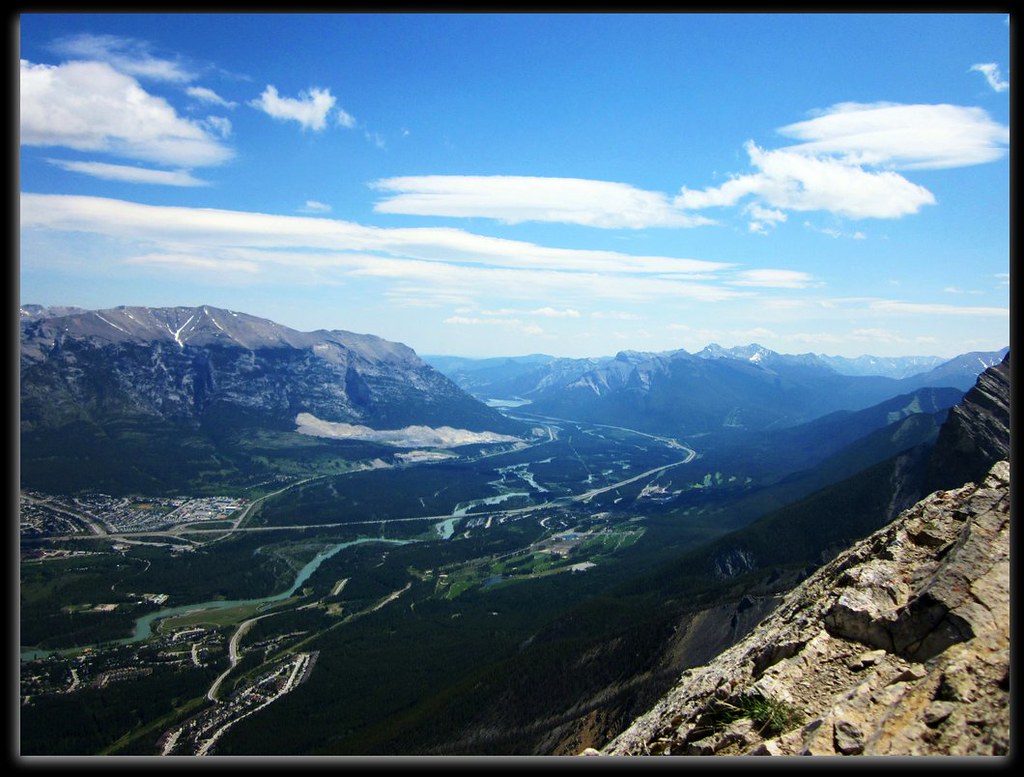
Looking at Mt. Chester (centre) from summit

Full summit panorama 

Tuesday, July 5, 2011

Ha Ling Peak - A Canmore Classic

Standing behind Canmore like a sentinel, Ha Ling has become a classic Canmore Hike/Scramble.  On the scrambling scale, Ha Ling barely registers, on the hiking scale it ranks in as a difficult.  From the front the foreboading cliff of Ha Ling seems inpeneterable, but what reveals itself on the backside is a somewhat moderate slope.  It is this slope that attracts the people from Calgary and Canmore to Ha Ling. 

In late June, I decided that I would, along with some friends, hike up Ha Ling.  It would be my first hike/scramble since Prairie Mountain on March 5 (almost 4 months ago).  None of the group members besides myself had done this trip previously and I thought it would be a great way to get my mountain legs back.  So on July 2nd we decided we would have an outing and call it Scotch On The Rocks, named for the drink we would have while sitting on the summit.  The hike began modestly as it always does, climbing through trees along switchbacks on a well defined trail.  Stepping over some roots and around trees adds a bit of excitement to the otherwise monotonous forest hike.  After about half an hour, the trail will begin to provide the first glimpses of the Goat Range and Mt. Rundle before finally breaking the treeline in about an hour and a half.  Take time to have a breather at the viewpoints in the forest if you like (we did) but don't dwell too long, the views only get better - and Ha Ling is pretty much all about the views.

From just above the treeline the path splits into several, all leading to the summit on multiple angles.  You have the choice to beeline it stright tot he summit on some loose scree, or you can continue to use the well grooved switchbacks.  Once the summit is in view, the mountain holds no tricks, its just a matter of hiking the way up to the summit along one of several scree trails.  The col provides a good teaser to what the summit will provide.  We met a group there and I urged them to continue, suffice it to say, they were greatful that they took the advice and continued the extra 10-15 minutes to the true summit.

Our group decided to leave early to try and avoid the crowds for which Ha Ling is famously known for.  On the way up to the summit we shared the trail with about 3 other groups and found ourselves virtually alone on the summit while we rested and took in the awesome scenery of the Bow Valley.  On the descent however, the masses were marching up relentlessly one after the other.  Without exaggerating, I would not be surprised if we passed close to 100 hikers on our way down and close to a dozen dogs.  Children as young as 5 were making this hike - which goes to show the difficulty of it. 
Unfortunately I do not have a great photo journal of this hike (there isn't exactly a lot to see until the summit) but don't be fooled, on a clear sunny and partially warm day, the summit offers some majestic vistas for the amount of effort put forth.  Our summit day provided us with partly cloudy skies and some decent winds blowing off the snowed-in mountains to the west.  This wind cause us to opt for a few heavier layers as we sat having lunch on the summit.
The total distance is about 6.5km and the total elevation gained is 729m and from car to car took us about 4.5 hours with a decent summit stop. 

Group Picture From Col

View From Summit Towards Calgary

Sunday, January 24, 2010

Midnight Peak - A Temperature Inversion

Midnight Peak
Kananaskis Alberta
January 24, 2010
 

This was my second time ascending Midnight Peak.  My last summit was in the midst of a severe winter storm and had absolutely no summit view.  Located approximately 15km down Hwy 40 and an hour from Calgary Alberta, Midnight Peak is located south of Mt. Baldy and the summit can be reached one of several ways.  During the winter the safest route to the summit takes you along Baldy Pass Trail, up the north ridge, across a boulder field and finally up a broad scree-slope adjacent to an avalanche gully, before popping up on the summit.  In the summer, this route is very straight-forward and offers very little in difficulties.  In the winter, the trail can be slippery and the north-slope can hold quite a lot of snow that makes progress quite tiresome and slow.This trip was a typical winter ascent.

I was leading a group of about 8 people from the University of Calgary Outdoor Adventurers and due to different levels of experience within the group, opted to take the Baldy Pass Trail winter route.  The trailhead is directly across the road from Baldy Trail Parking Lot parking lot and the Baldy Pass Trail takes you up the valley between Mt. Baldy and Midnight Peak.  The trail itself is very treed and doesn't provide any view whatsoever, at the same time it hides the actual elevation gain you make along the 5km trail.  Our group stopped at Baldy Pass for a quick bite to eat and a quick rest.  The temperature that day was quite nice and about -4C at the Pass which allowed for a nice rest.  It also provides views of the ascent route as well as nice views of South Baldy and minimal views of Moose Mountan and Prairie Mountain.
 

Midnight Peak mid-slope
After the Pass the trail banks left and continues up a treed slope.  As you ascent the trees thin out and the view of Mt. Baldy gets better.  On this day the clouds started to blow in pretty quickly dabbing out most the colour in the landscape.  Shortly after following the trail (and clearing in the winter when the trail is not visible) we came to the boulder field.  This short section prpves the most technical in the winter.  As with any boulder field there is a lot of airspace between the rocks, as such lots of chances for a person to get their leg stuck or injured.  Add to that a few feet of snow and this section became quite slow as we meticulously picked or way one-by-one.  One past the boulder field you enter a large open area, in the winter this usually holds a lot of snow, on this day the snow was piled mid-thigh.  After that open are you briefly enter the trees and before you know it, you will be staring an avalanche dead on.  Start heading straight up the slope, however, in the winter, ensure you check for avalanche conditions.  This day avalanche conditions were low-moderate, however, we all brought ice axes as a standard winter safety item.
 

Just below the summit of Midnight Peak
The ascent once out of the trees is fairly straight forward but tiring and the summit is forshortened.  We took turns breaking trail through the knee-deep snow as we switchbacked our way up the slope.  As you climb higher, the view to the north and east usually opens up and you can see Mary Barclay's Mountain, Yamnuska (in the distance), Old Goat Mountain, Loder Peak and Door Jam Mountain.  On this day though, the clouds were quite low caused by a temperature inversion and our views we're minimal except for Mt. Baldy due to tiobeing the closest mountain.  As we climbed higher the clouds became thicker,.   However, about 40 vertical meters from the summit we exited the clouds.  The exit was abrupt and the view became awesome.  The clouds provided a veil, the lower portions of the mountains were mainly blocked but the summits broke through providing a feeling of altitude greater than we attained. 


Summit Shot
The most dangerous feature that you come across on a winter ascent from this route is an ever-present cornice along the South Summit Ridge.  As such I was the first person to ascend so we could keep people from walking on it and potentially falling (a fall may not be fatal, but would definately lead to some serious injuries).  Being 150m taller than the next closest mountain, Midnight Peak offers a fantastic view and is not a very popular mountain.  Midnight Peak also provides the ability to traverse all the way to Tiara Peak along what is known as Boundary Ridge.

For the summit shot I changed into a Maple Leafs jersey and Christine changed into a Calgary Flames jersey since both team were playing each other that night.  
 
We descended the same way following our tracks. 
 
View from summit
Photo of me on summit
Shrouded in clouds on Midnight Peak Summit Ridge